build a good craft wheel is essential on Darwin Project. Certain skills will allow you to obtain considerable advantages over your enemies, and thus take the lead during your games.
First of all, it is important to know that the different skills offered by this crafting tree require resources collected during your games in order to be created. Once in part, it is therefore very important to recover a maximum of wood, leather but also electronic components.
Regarding the modification of your crafting wheel, it is done in the main menu of the game, in the tab " Crafting Wheel ».
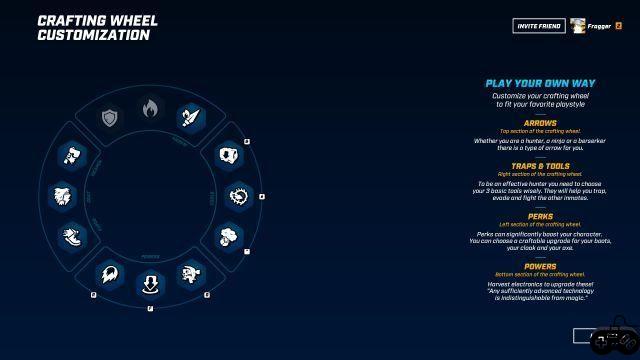
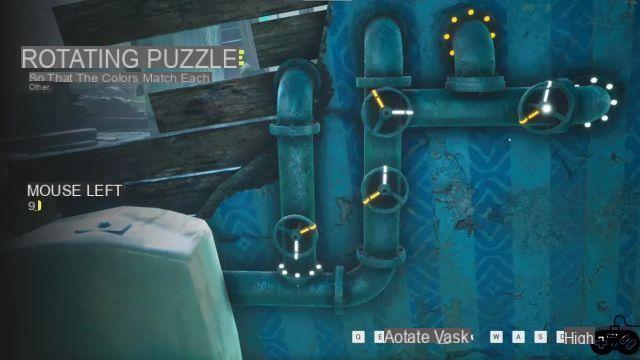
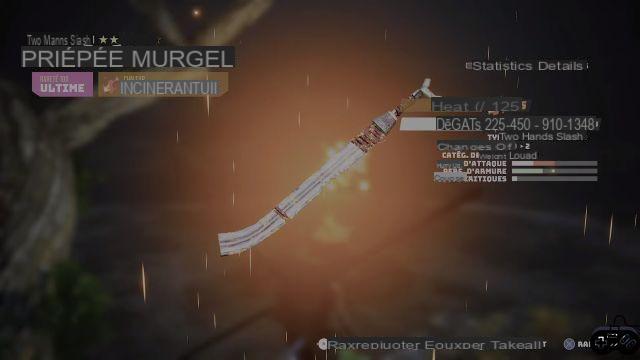
Screenshot of the crafting tree on Darwin Project
Once in this menu, you will find that the crafting wheel is divided into four distinct parts:
→ The benefits part (left part)
→ The equipment part (right part)
→ The powers part (bottom part)
The benefits part
The elements present in this part are among the most important elements in the game. The skills available grant considerable advantages to the players. Three skills are therefore available once in play, but you will have to choose from among many skills. Here is the list of skills to use:
→ The “ Speed Boots » here seem to be the wisest choice to make. They will allow you to gain 5% additional movement speed for a maximum of 25%. The skill can therefore be improved up to a maximum of five times.
→ Cost : 2 leathers
→ The " Runner Cloak is the ideal choice here. It will allow you to have 10% cold resistance per level but also 15% additional endurance per improvement. The skill can be upgraded up to a maximum of five times.
→ The  « Axe Sharpener is the best choice here. It will allow you to increase the damage of your melee weapon by 25 damage per upgrade for a total of up to five upgrades.
→ Cost : 2 wood, 3 leather
The equipment part
The elements present in this part can also change the course of your games and give you a certain number of non-negligible advantages. Three skills are therefore available once in play, but you will once again have to choose from among many skills. Here is the list of skills to use:
→ The " Rigged Chest is an essential choice in this game. It is simply a trapped chest that you will have to place during your games and which will inflict damage on enemies and which will reveal the position of the enemy in question for a short time.
→ Cost : 1 add
→ The " Glider is the most important choice in this category. This is a paraglider that will allow you to travel a long distance while flying over the map.
→ Cost : 1 wood, 1 leather
→ The  « Smoke Bomb is a choice that can make the difference since it will allow you to become invisible to enemies, also dispelling the effect " Tracked if it is active.
→ Cost : 1 wood, 1 leather
The powers part
The skills available in this part, just like those available in the advantages part, are very important and can completely change the outcome of a game. However, this part has an important difference since the skills require the "Electronic" material in order to be usable. Once again, three skills are available once in game among a multitude of choices to be made before starting a game. Here is the list of skills to use:
→ The " Radar is a choice here that can be very useful. It will simply allow you to perform a scan around you which will reveal the presence of enemies, traps or clues through all surfaces.
→ Cost : 1 electronic component
→ Scope: 150 meters
→ Duration: 15 seconds
→ Recharge time: 60 seconds
→ The " Teleport is an essential choice here. Using this skill you can cover a greater or lesser distance in a very short period of time.
→ Cost : 1 electronic component
→ Scope: 100 meters
→ Recharge time: 60 seconds
→ The "Turret" is here again an essential choice. Only a few seconds after using this ability, a turret firing a burst of three bullets every three seconds will be placed on the ground, inflicting more or less damage on your enemies.
→ Cost : 1 electronic component
→ Bullet Damage: 50 damage
The arrows part
In this part, two skills cannot be modified since they represent a fundamental element of the gameplay. On the other hand, the type of arrows used is customizable. Here is the type of arrows to use:
→ The “ Fire Arrow are a very good choice. The damage of these arrows is greater than the classic arrows, on the other hand the distance traveled by these arrows is less.
→ Base damage: 200 damage (250 damage per headshot)
→ Speed of an arrow: 50%
→ Maximum range: 40 meters
→ Number of arrows at the start of a game: 0 arrow
→ The “ Arrow are also a viable choice. The damage is lower than the "Fire Arrow" but they can however travel longer distances.
→ Cost : 1 wood
→ Base damage: 150 damage (200 damage per headshot)
→ Number of arrows at the start of a game: 5 arrows
Nevertheless the arrows chosen depend on your preferences, but the most effective arrows remain the " Fire Arrow and the " Arrow » basics.
We will keep this guide as up-to-date as possible, which means that changes will be made regularly over the course of updates.